How to Mark an Invoice as Paid
This guide will walk you through how to apply a payment directly to an invoice in your Gimbla account.
When a customer pays you, it is essential to update your records promptly. This process marks the invoice as "PAID," updates your accounts receivable, and ensures your records are accurate and ready for bank reconciliation.
▶️ Video Tutorial
Prefer to watch? Our video guide walks you through the entire process.
🧭 Navigate To
👣 Walkthrough
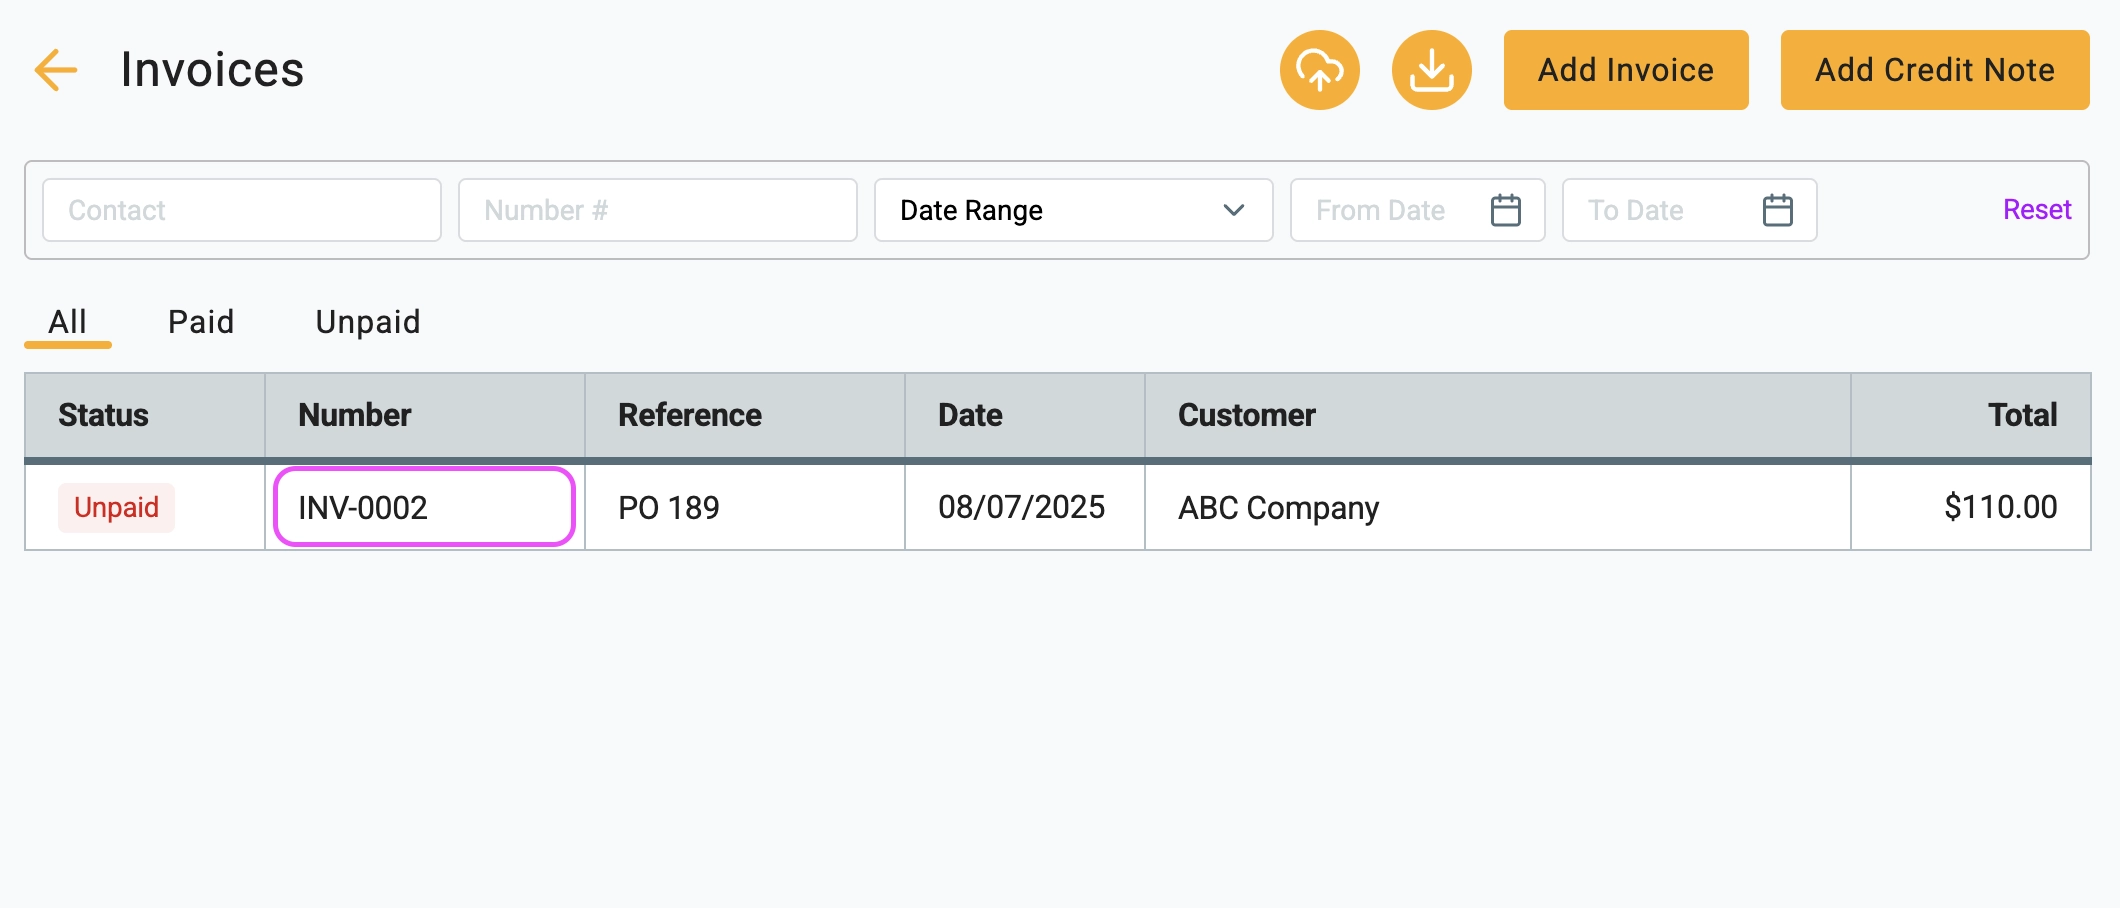
1 Navigate to your main list of invoices. Locate the unpaid invoice you wish to mark as paid and click on it to open the View Invoice screen.
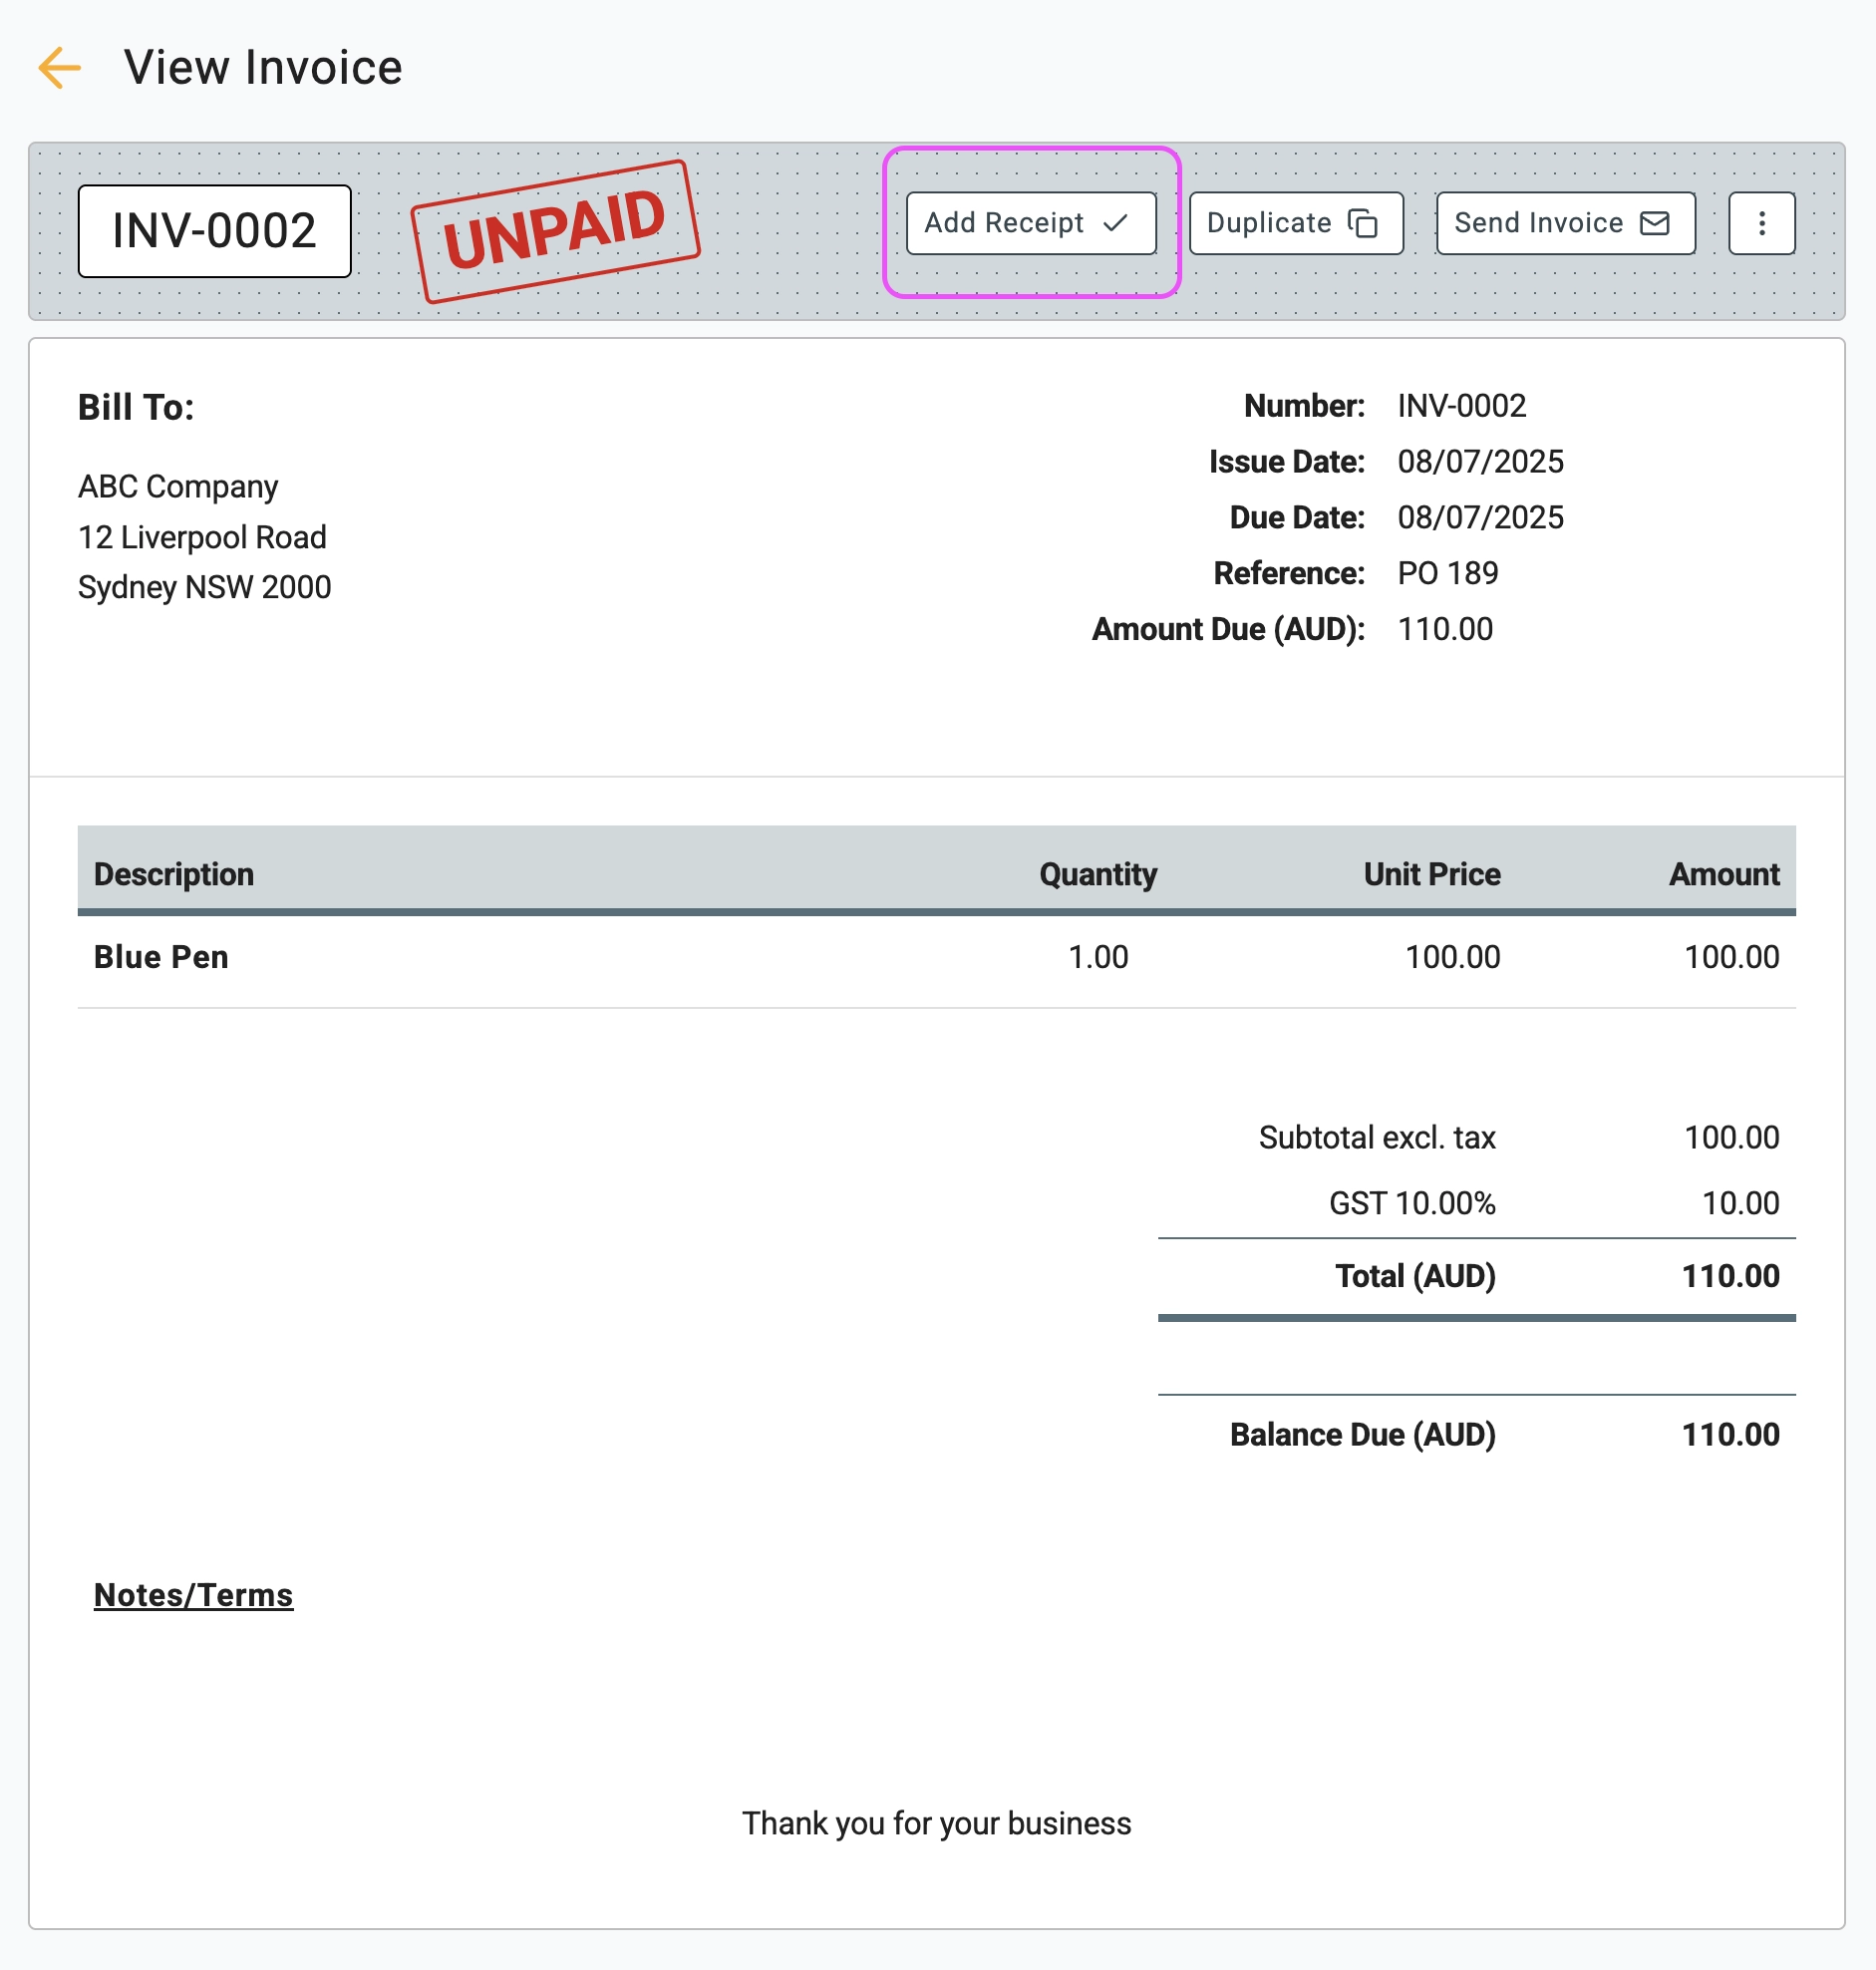
2 At the top of the invoice, click the Add Receipt button. This will open a pop-up window to enter the payment details.
3 Fill in the details in the Add Receipt window:
- Date Paid: Enter the date you received the money (defaults to today).
- Paid To: Select the bank account where the payment was deposited.
- Amount Paid: The full invoice amount is automatically filled in.
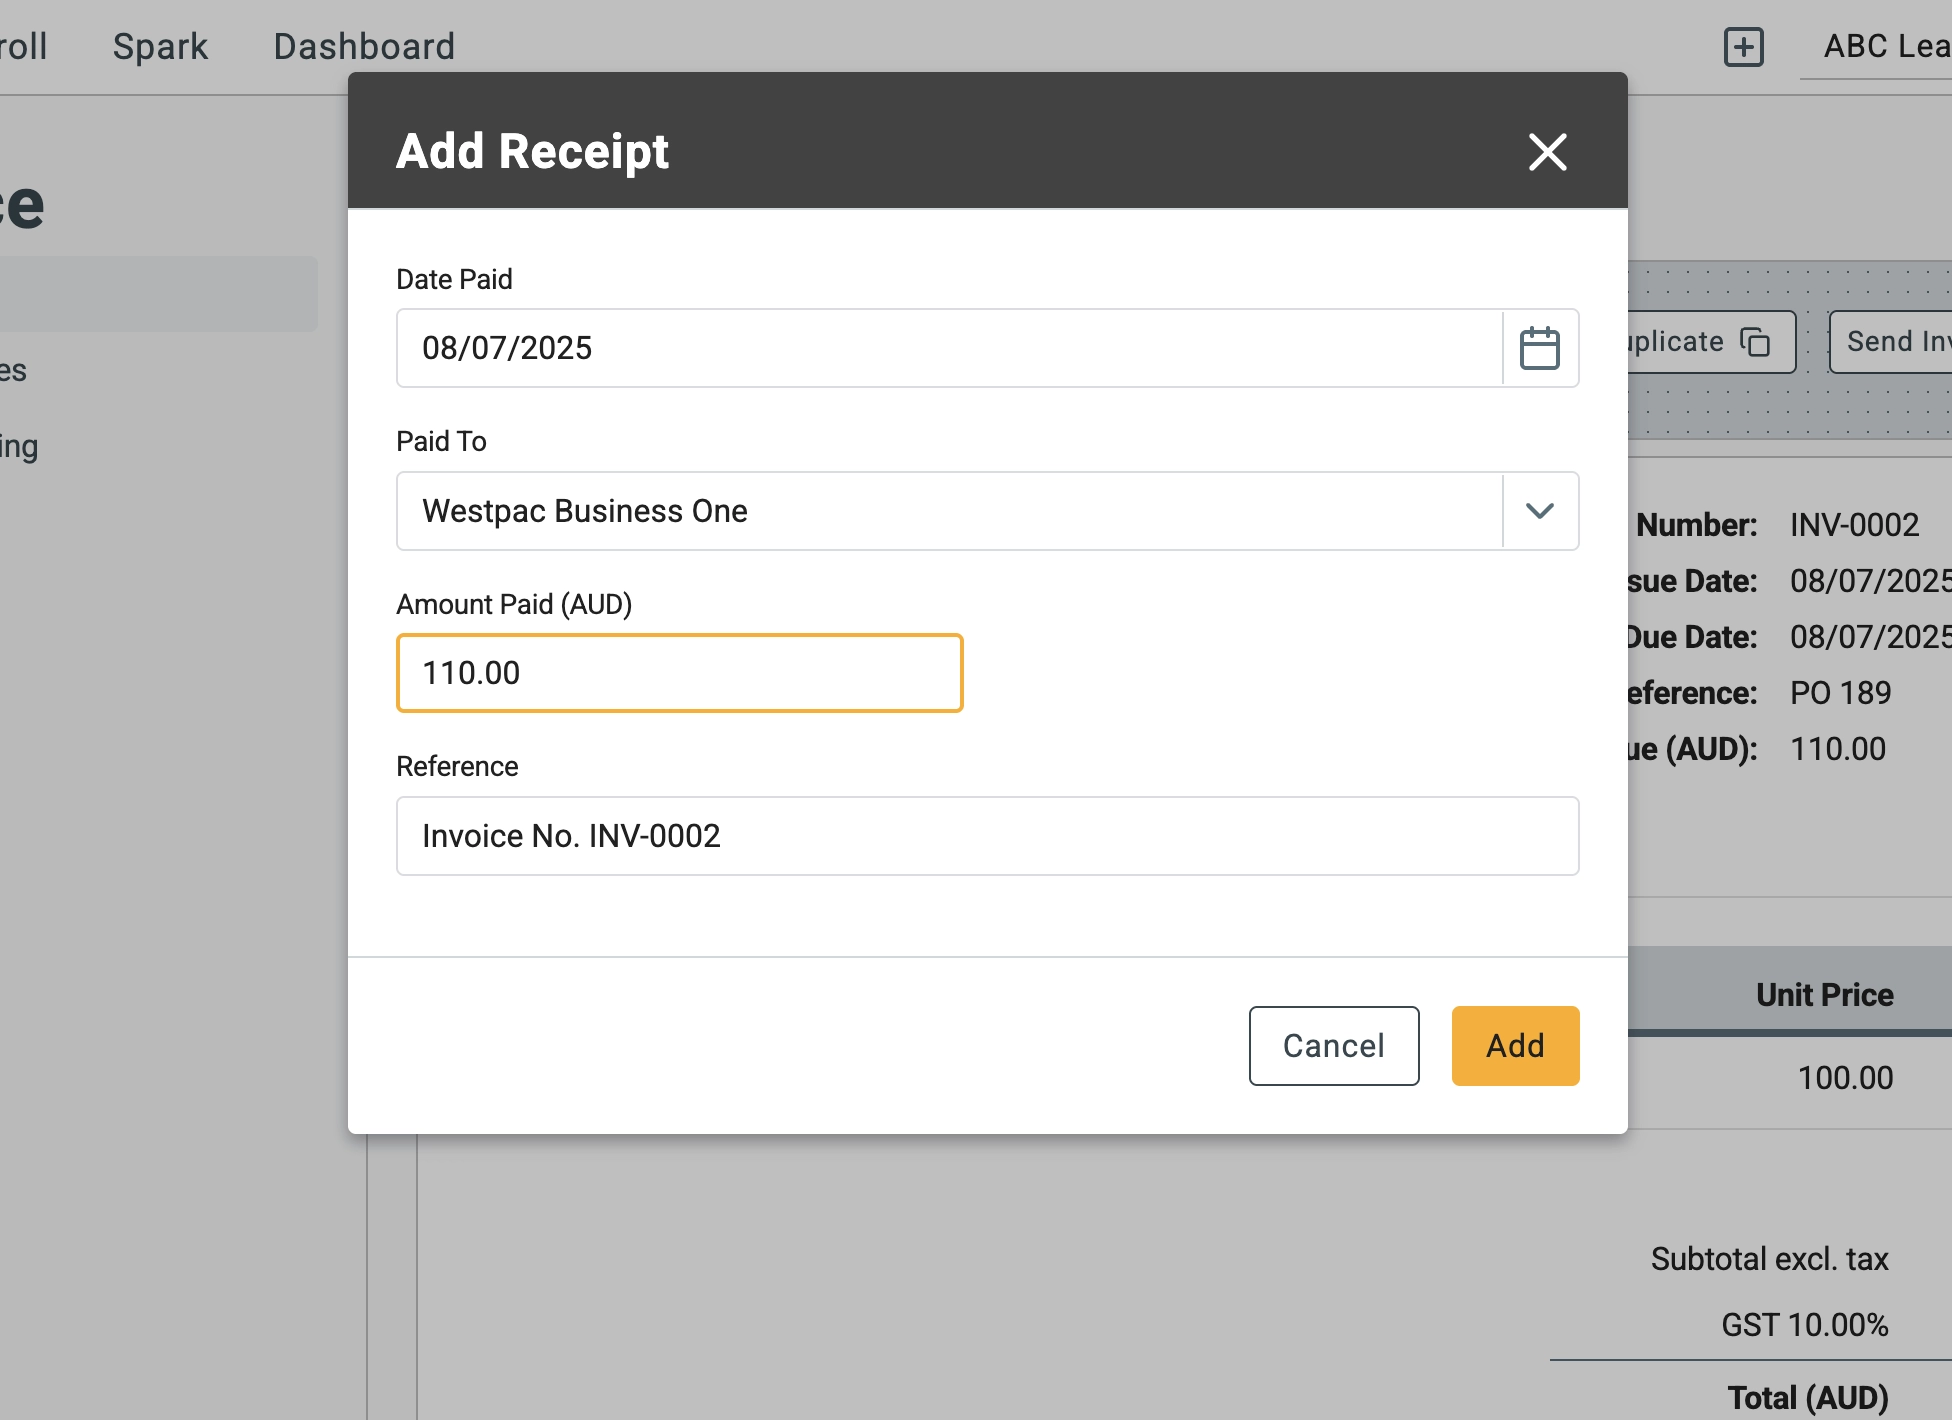
4 Click the Add button to record the payment. The system will automatically update the status from UNPAID to PAID, and the balance due will update to zero.

🖇️ Notes
Take a minute to review common payment scenarios and tips for managing receipts. A brief description of the key behaviors follows:
- Partial Payments – If a customer has only paid part of the invoice, simply edit the Amount Paid field to match what you received. The invoice will remain partially open, showing the remaining balance still due.
- Overpayments – If a customer paid more than the invoice amount, enter only the exact invoice amount here to mark it as PAID. You should refer to our separate guide on Recording an Overpayment to handle the excess funds.
- Bank Reconciliation – Selecting the correct Paid To account is crucial. This ensures that the transaction records the cash in the right place, making bank reconciliation easier later.
- Receipt Link – Once the invoice is paid, a new line item appears on the invoice with a link to the payment receipt. You can click this link to open the formal receipt, which can then be emailed to your customer.