Add a New Business
This guide is courtesy of Richard O'Callaghan, Academic Director at Dublin Business School.Adding a new business in Gimbla gives you a separate, dedicated space to manage its finances. As the Super Administrator of the new business, you'll have full unique administrative access. This includes the unique ability to invite other users to your business and to transfer ownership of the account when needed.
🧭 Navigate To
👣 Walkthrough
1 The first thing that we want to do is to create a business.
On the top right-hand corner of the page you will see a button saying
Add Business
, click on this button.
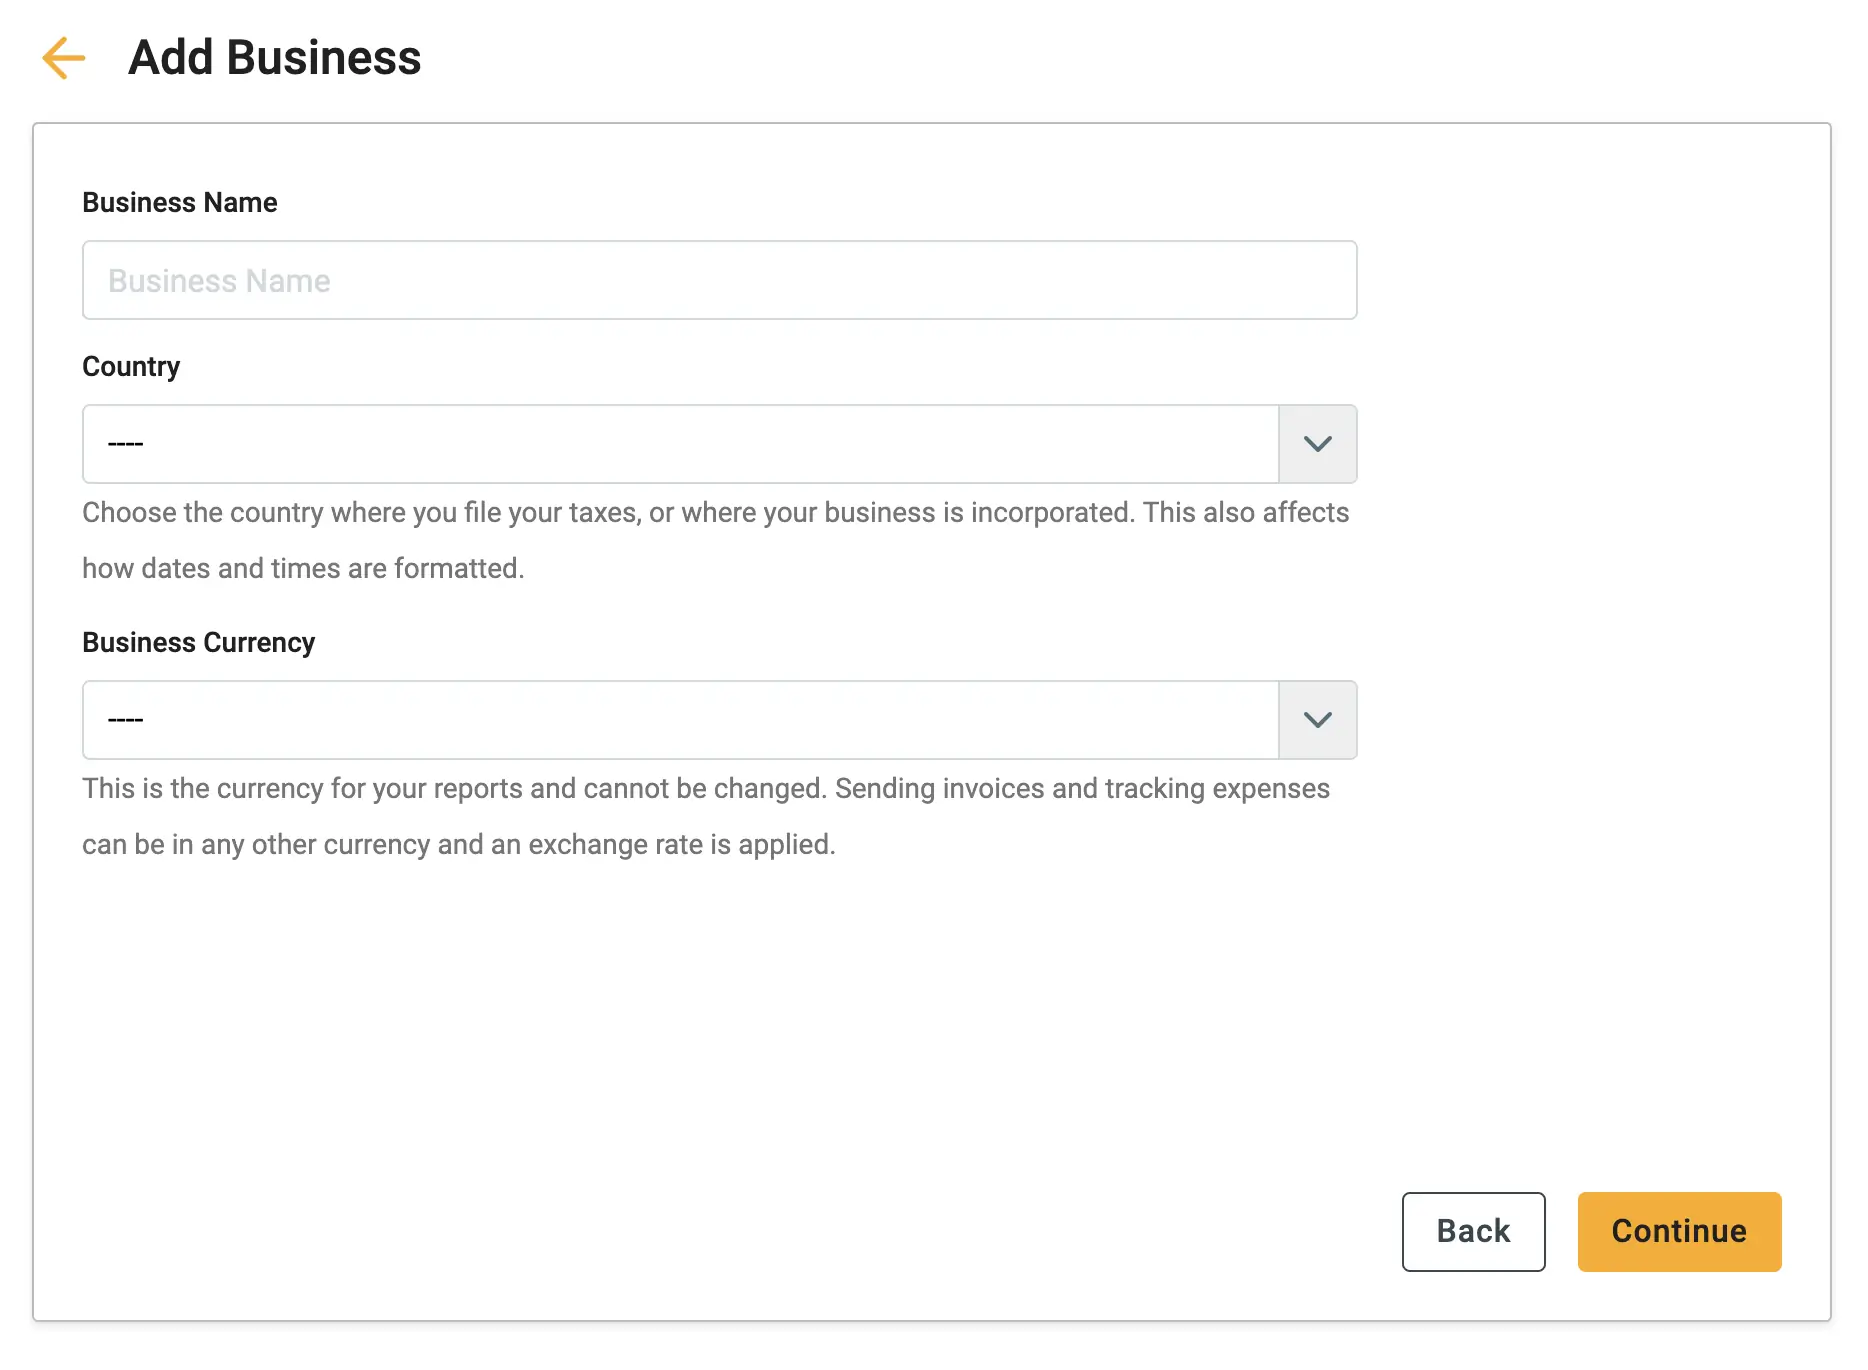
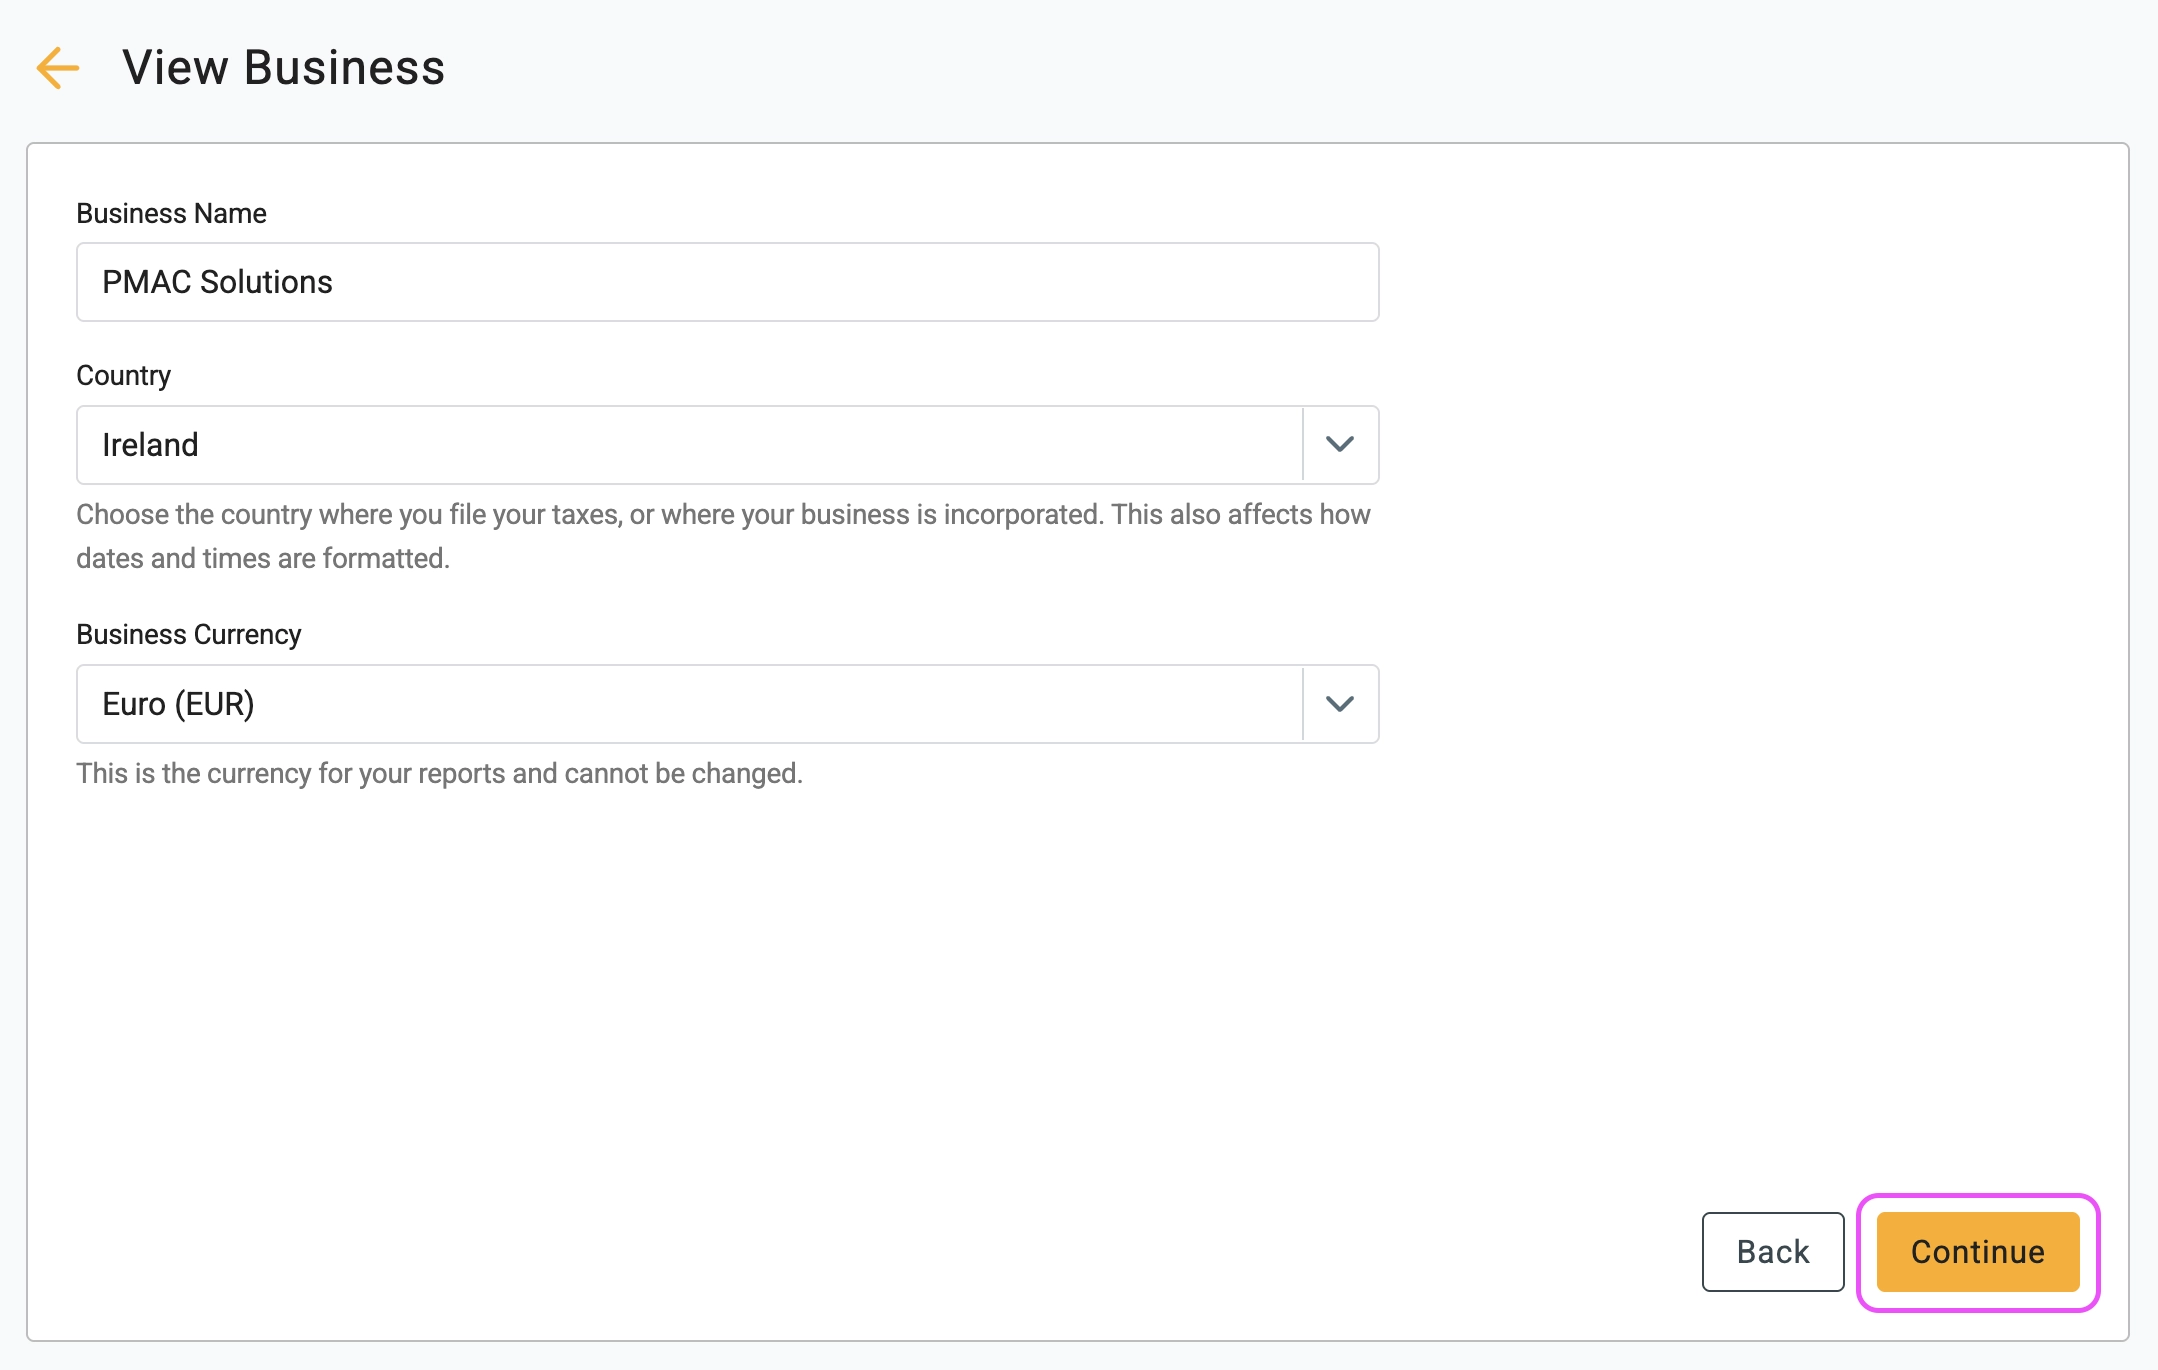
2 Enter the business name PMAC Solutions
. Choose Ireland
as the Country, and select Euro
as the Business currency. Once you have done all of this click the Continue
button.
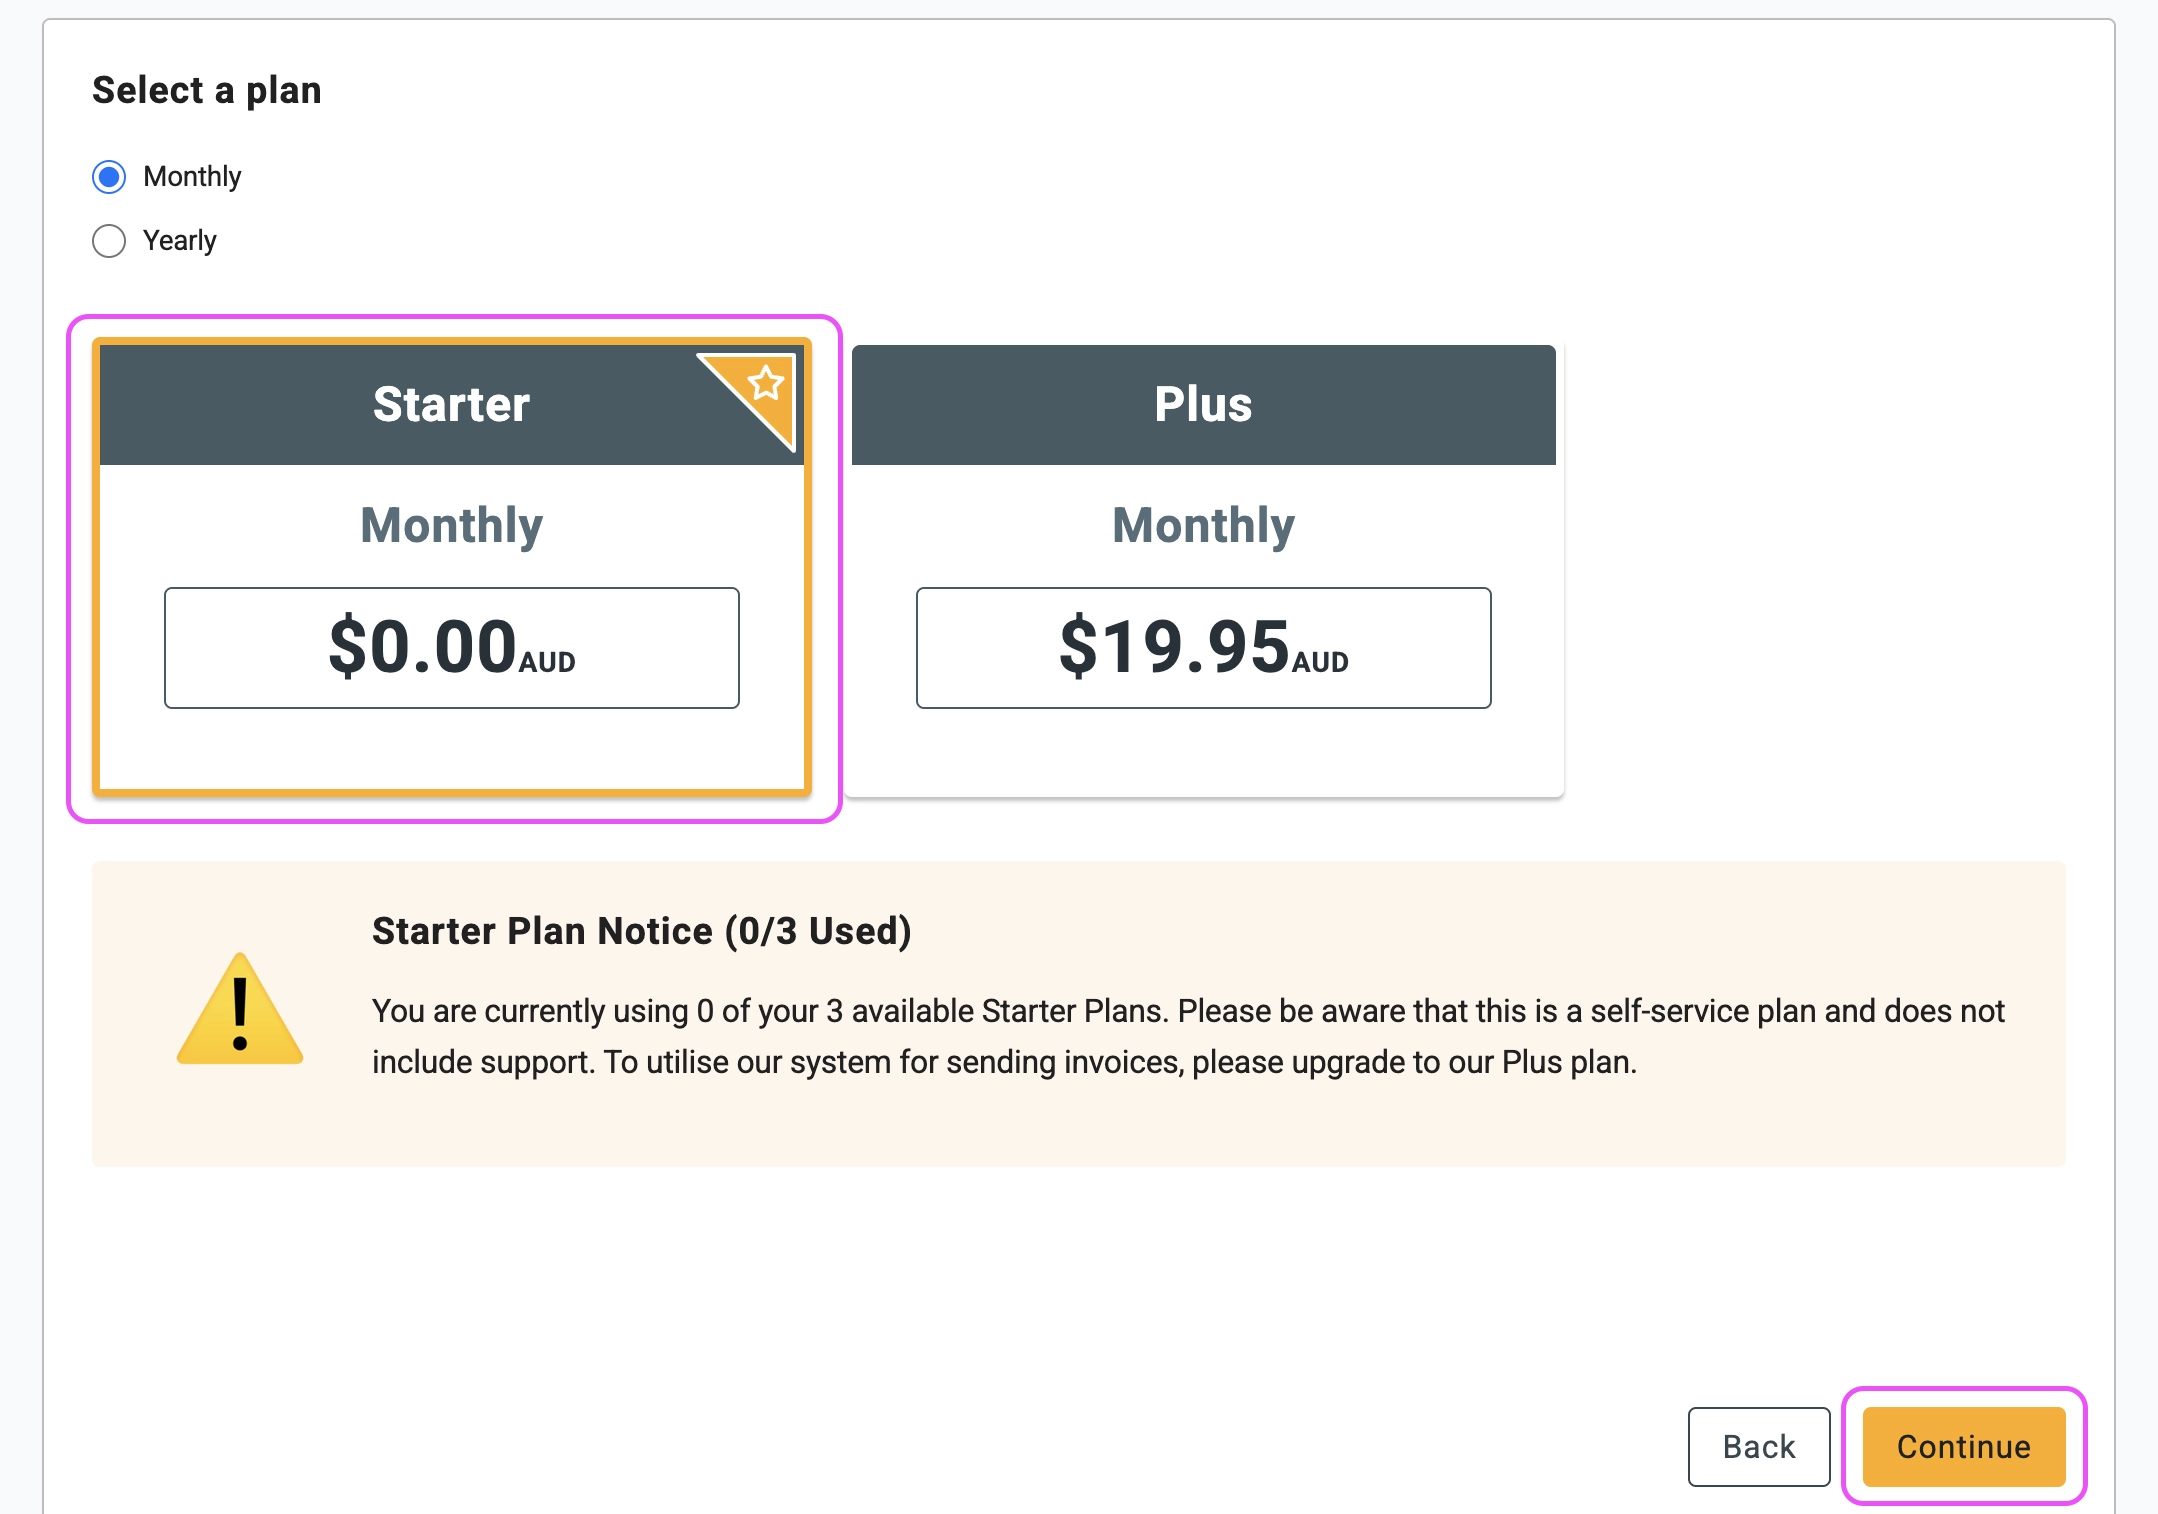
3 Select the Starter
plan from the next screen and click
the Continue
button.
4 The website will take a few seconds to set up the business….

… and then you will be brought back to the Businesses
area of
Settings
, but now with the firm PMAC Solutions
showing.
🖇️ Notes
Take a minute to click on each of the settings on the left-hand-side of the page. A brief description of each of the settings follows:
- Businesses
– This is where a list of the businesses that are being accounted for
in the application resides. You can add additional businesses on this
screen, and also click on the
Actions
button for the business to view and amend some of the business settings. - Users – This is where you can add additional users to the app.
- Roles – This is where the levels of access for individual
users can be set. By default there are three roles
Administrator
,Standard
andGuest
. You can also add further roles by clicking theAdd Role
button in this screen. - Tax Rates – The applicable GST rates. You will need to add or amend the default rates (more later). See the GST, VAT and Sales Tax guide for the reporting workflow.
- Document Templates – The company logos and templates for different business documents; invoices, quotes and purchase orders. You can customise these in the invoice templates guide.
- Email Settings – Template for emails.
- System – Set the accounting / fiscal year end date and a number of other system and formatting defaults.
- Payment Gateways – Take credit card payments by enabling that option
- Integrations – The Stripe Payment Gateway is the only integration that can be added at the time of writing.
▶️ Video Tutorial
If you are a visual learner, check out our short video walkthrough on how to add a new business in Gimbla.