Create a customer
This guide will walk you through how to add a new customer to your Gimbla account.
Adding customers saves their details so you do not have to enter them repeatedly. This makes creating invoices faster and keeps all your client information organized in one central place.
🧭 Navigate To
👣 Walkthrough
1 On the top right-hand corner of the page you will see a button
saying Add Customer
, click on this button.
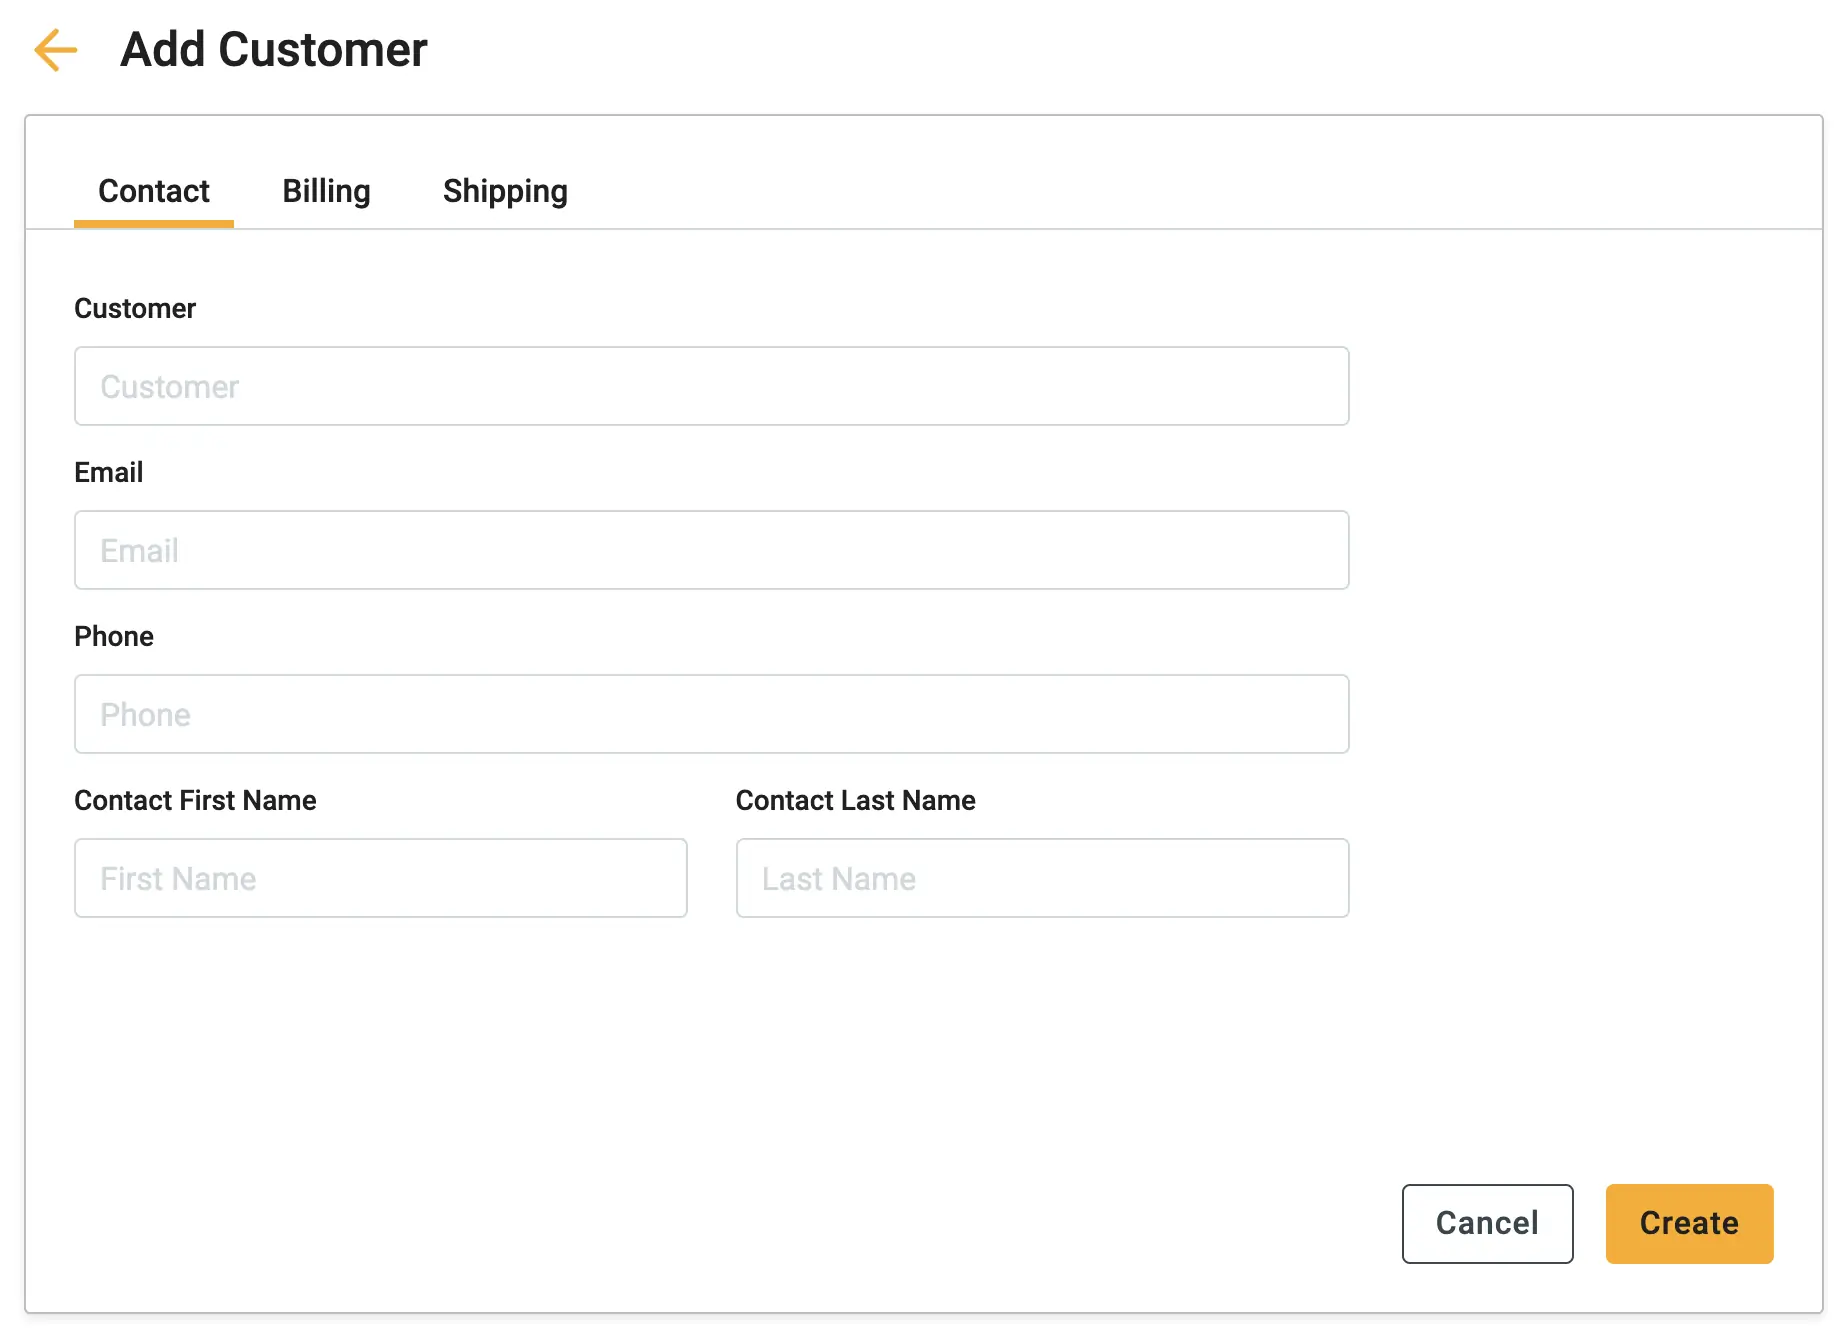
2 The form is organized into several tabs. Start with the Contact tab to capture the core details. You must enter the Customer name (the company or individual you are invoicing).
3 Fill in the Primary Person section with the details of your main point of contact, including their name, job title, email, and phone number.

4 Next, switch to the Billing and Shipping tabs. Enter the address that should appear on invoices in the Billing tab. If you ship physical products to a different location, enter those details in the Shipping tab.
4 Finally, check the More tab for additional fields like Tax ID numbers. Once you have entered all the necessary details, click the Create button to save the customer to your records.
🖇️ Notes
Take a minute to review the additional options available when managing customer details. A brief description of the key features follows:
- Multiple Contacts – If you work with multiple people at the same company, you can click the Add Another Person button on the Contact tab to store additional email addresses and phone numbers.
- Pro Tip: Address Shortcut – If the shipping address is the same as the billing address, go to the Shipping tab and select the "Same as billing address" option. This saves you from typing the same information twice.
- Availability – Once saved, the customer will be immediately available to select from the dropdown menu when you create a new invoice or quote.